在浏览器中运行Python--基于Vercel中部署JupyterLite过程
介绍
JupyterLite 是一个完全在浏览器中运行的 JupyterLab 发行版,它基于 JupyterLab 组件和扩展从头构建而成。
JupyterLite 可以在不需要安装任何软件的情况下直接在浏览器中运行。
本文记录了如何基于Vercel去部署JupyterLite站点
官网:https://jupyterlite.readthedocs.io/en/stable/index.html
部署过程
在github中拉取jupyterlite Demo
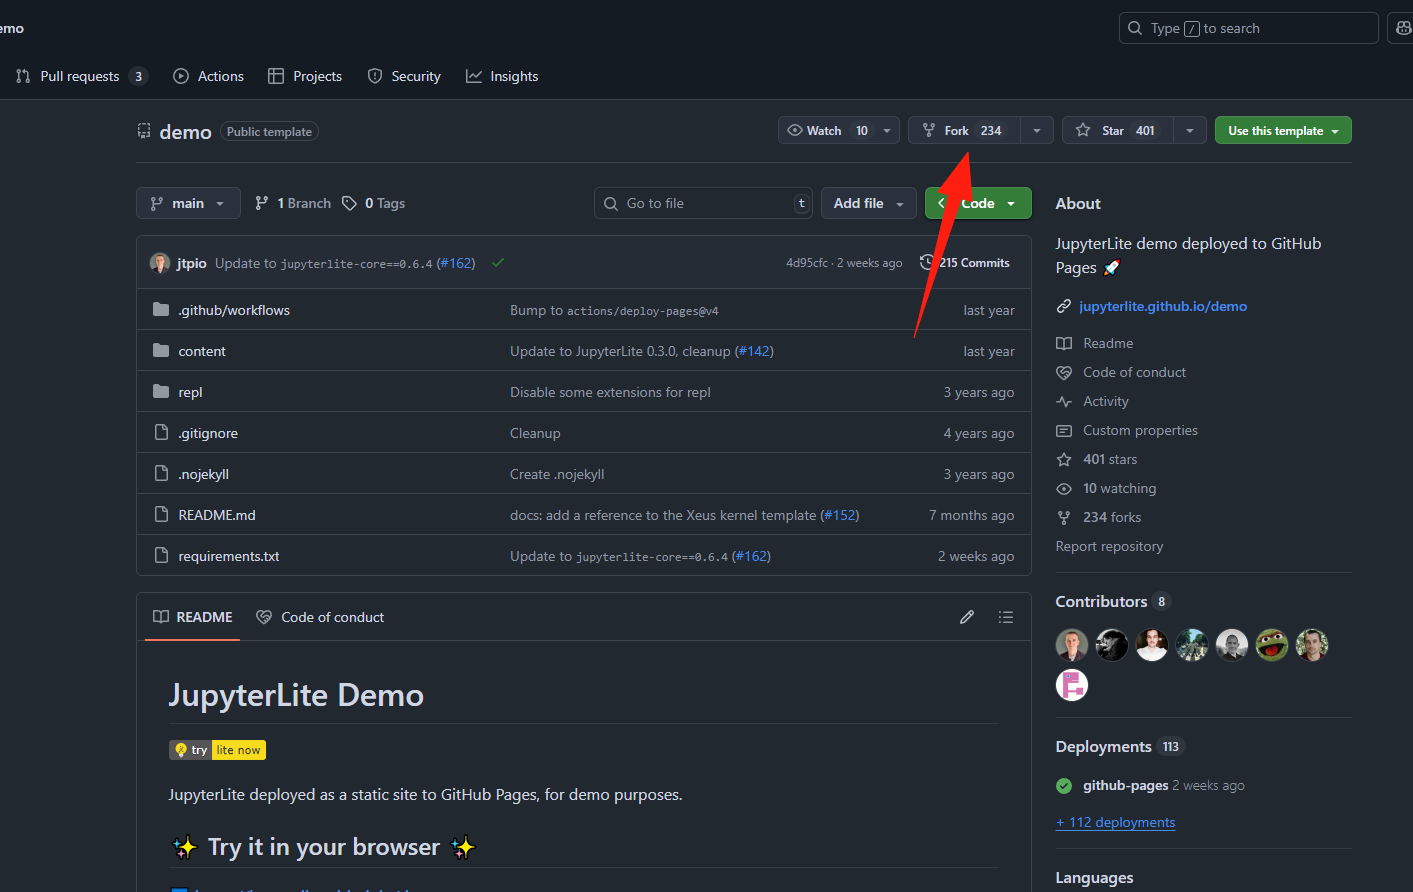
首先在GitHub中将该项目fork下来,地址:https://github.com/jupyterlite/demo
而后创建部署脚本,取名为deploy.sh
内容如下:
1 |
|
再创建txt文件,取名为requirements-deploy.txt ,用于安装各种依赖
内容如下:
1 | jupyterlab |
然后在fork下来的项目中上传两个文件
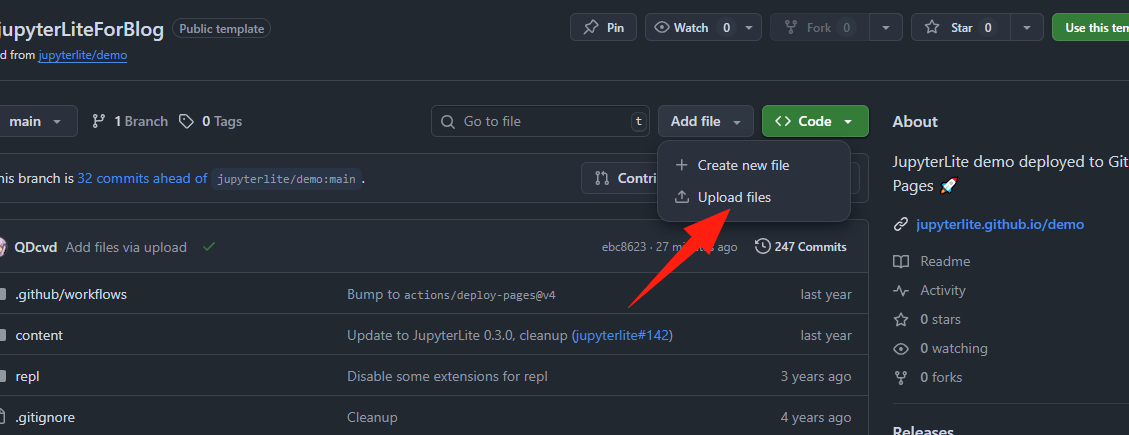
至此,github部分完成
在Vercel中部署juputerlite项目
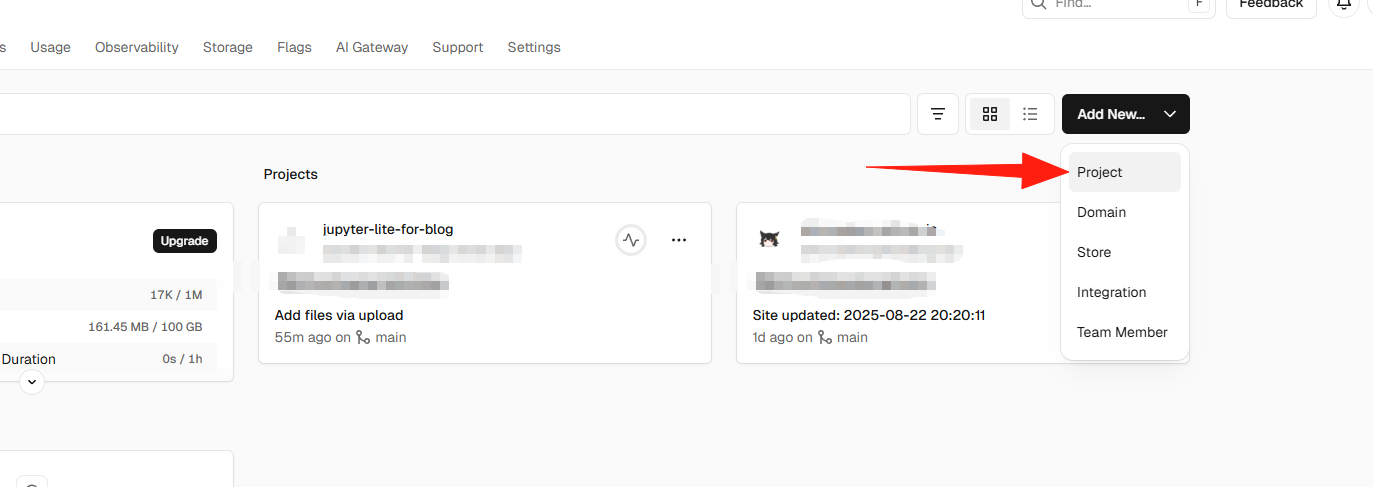
进入vercel,在前台中创建project
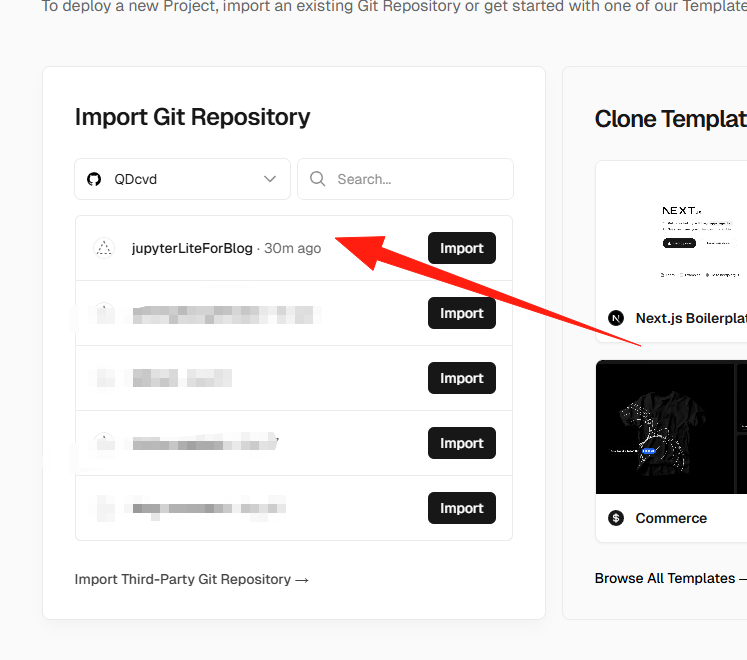
引入fork下来的项目
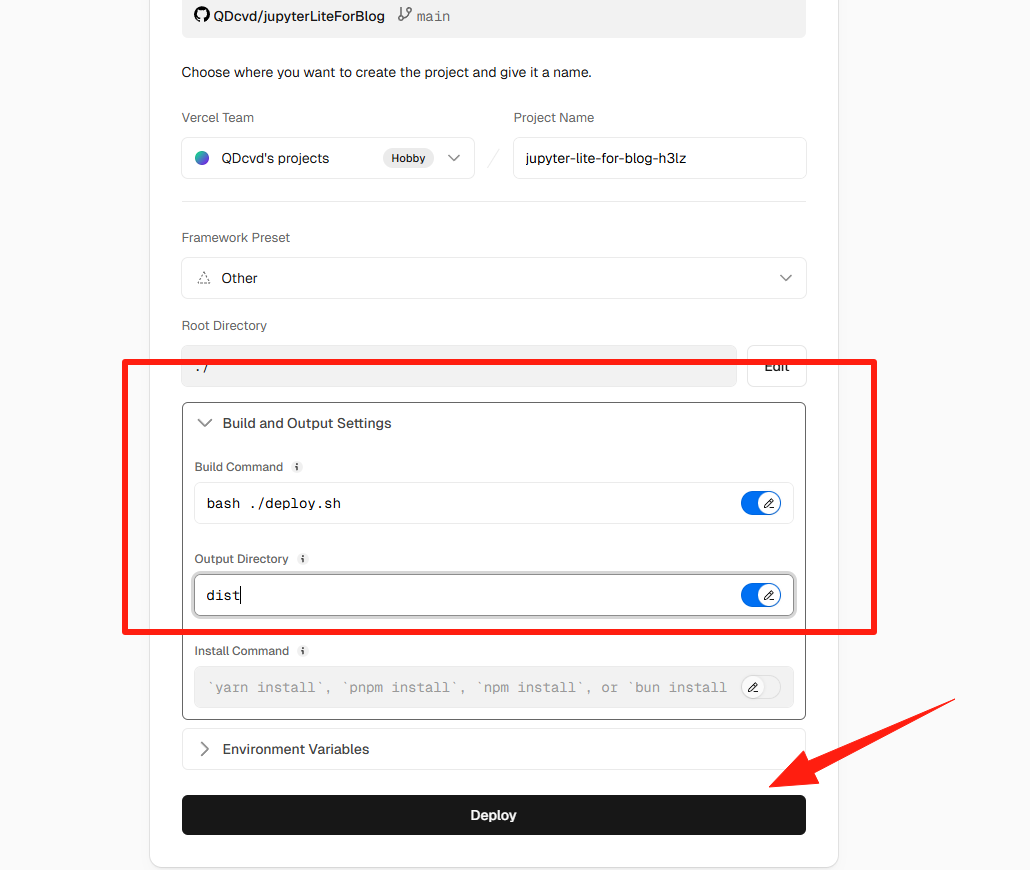
而后在此页面输入bash ./deploy.sh,在output directory中输入dist。随后点击deploy进行部署即可
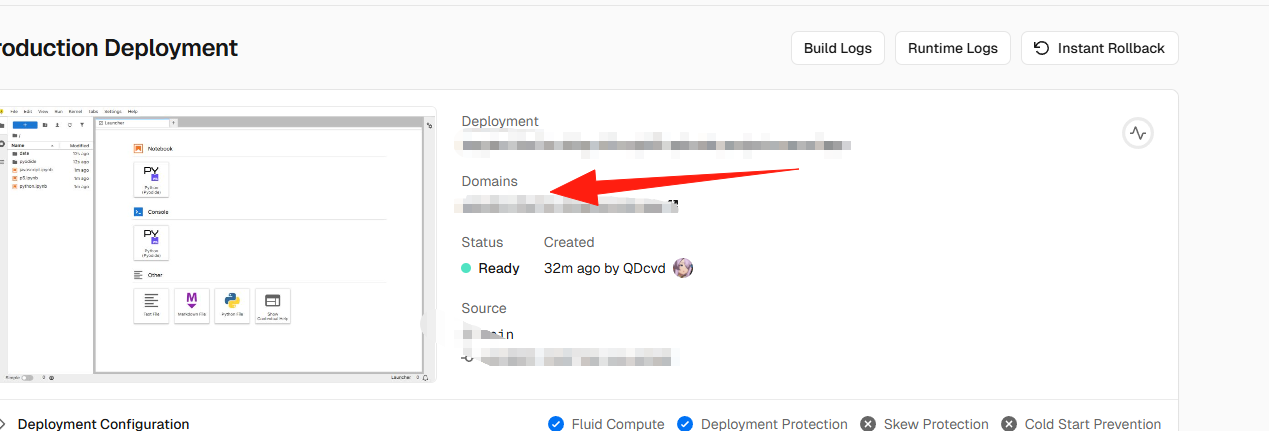
等一会后即可部署完成,可在Overview页面点击Domain下的网址进行访问
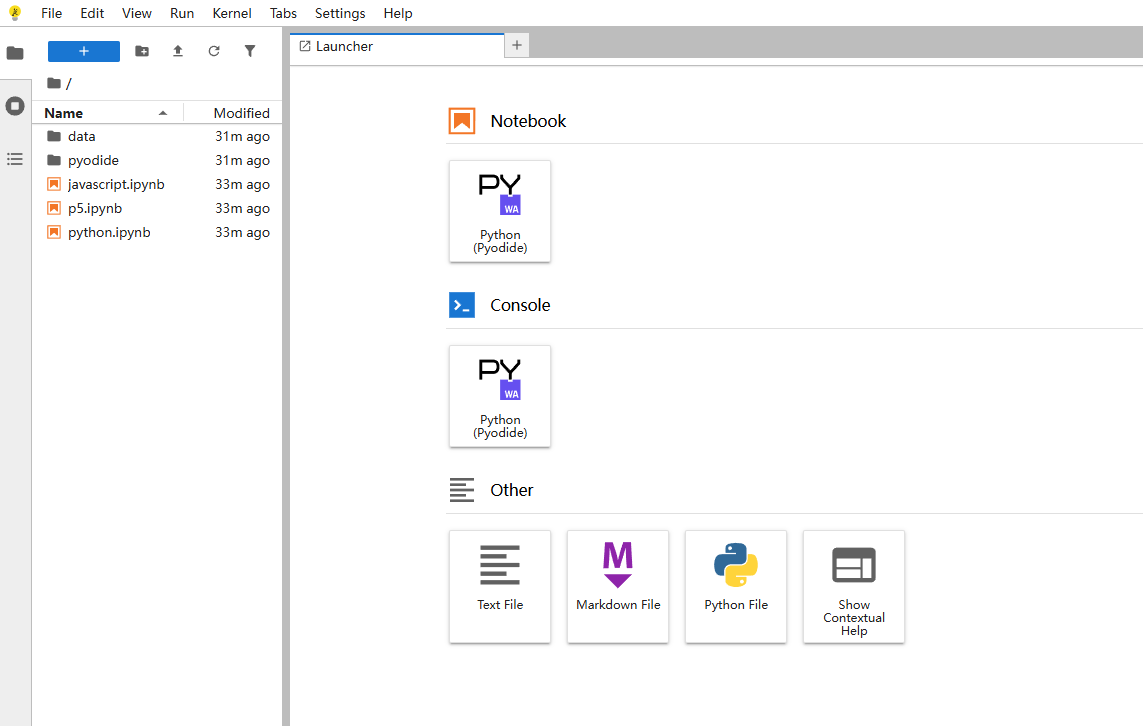
等出现jupyter页面后即可完成部署,也就可以开始使用jupyterlite了。
评论